 Generally, when installing Windows XP, the process can be quite time consuming, where after the initial install by using the original CD, then Microsoft Service Pack installations and then post Service Pack installations could lead to several hours of installing. If this is a repeated process, then there is a means to save precious time. To reduce the installation process in terms of time and steps, use an integrated Windows XP SP3 (with Post-SP3 hotfixes) bootable CD. To create one requires the completion of these several tasks.
Integrate Windows XP Service Pack 3 into the Windows XP installation folder. (Adapted from Microsoft)
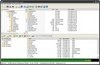
- Create two folders, like C:\XPCD\i386 and C:\SP3
- Copy files and folders in the i386 folder from the original Windows XP CD to C:\XPCD\i386 (or copy the entire contents of the XP CD, as will be desired for the integrated CD instructions provided towards the end of this article).
- Download Windows XP SP3 network installation package to C:\SP3. The filename is WindowsXP-KB936929-SP3-x86-ENU.exe.
- Click Start, click Run, type cmd, and then click OK.
- At the command prompt, type cd C:\SP3, and then press ENTER.
- At the command prompt, type WindowsXP-KB936929-SP3-x86-ENU.exe –x, and then press ENTER.
- At the prompt, verify that C:\SP3 is listed as the destination folder for the extracted files, and then click OK to extract the files.
- At the command prompt, type C:\SP3\i386\update\update /s:C:\XPCD. The Windows Service Pack 3 Setup Wizard starts and notifies you that Windows XP SP3 files are being integrated into the Windows XP installation folder.
- Upon completion, A completed successfully dialog box should appear. Click OK.
Integrate Post-Windows XP Service Pack 3 hotfixes into the Windows XP Service Pack 3 installation folder by using the RVM Integrator.
- Create a folder called C:\POSTSP3
- Download and extract the latest RVM_INtegrator (current version 1.6.7) to C:\POSTSP3 (7zip is required).
- Download the latest RyanVM Windows XP Post-SP3 Update Pack (current version 1.0.3) to C:\POSTSP3.
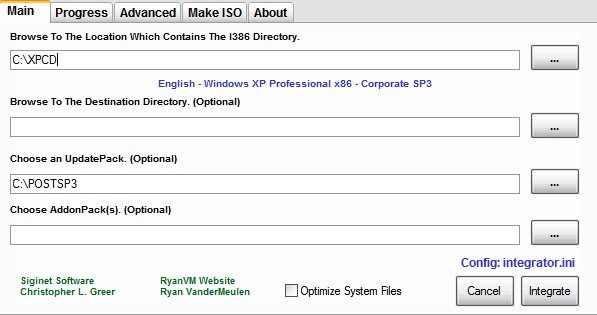
- Launch the RyanVM Integrator. Check their website for more detailed instructions for the use of this utility.
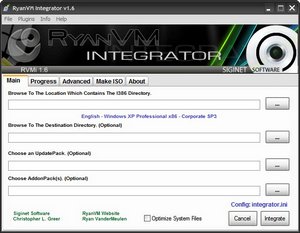
- Basically, select .. The Location Which Contains The I386 Directory and Choose an UpdatePack. Then press the Integrate button.
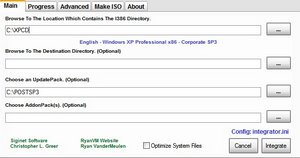
- If all went well after about 10 minutes, the Post-Windows XP Service Pack 3 hotfixes have been integrated successfully.

Create a bootable Windows XP SP3 CD Using CDburnerxp, a free application to burn CDs and DVDs, including BLU-RAY and HD-DVDs. (Adapted from cerejoster)
- Create a folder called C:\BOOT.
- Download xpboot.zip and extract the xpboot.bin to C:\BOOT.
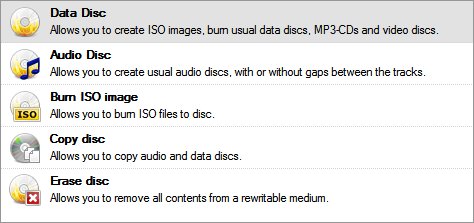
- Launch CDburnerxp and select Data Disc.

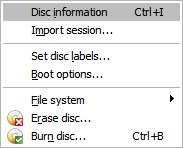
- From the top menu bar, click on Disc, then Boot options…
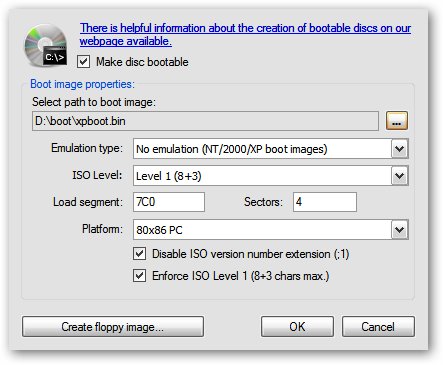
- The Boot Options box should appear. The image below shows all the settings as described below.Note: D:\boot is in the path below, if you followed the instructions above use C:\BOOT.
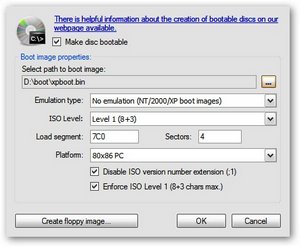
- Select the Make disc bootable option by placing a check in the box.
- In the Select path to boot image box, press the
 button and select C:\BOOT\XPBOOT.BIN.
 - Change Emulation type to No emulation …
- Change ISO Level to Level 1(8+3)
- Change Load segment to 07C0 and Sectors to 4.
- The Platform should be 80×86 PC
- Check the Disable ISO version number extension(;1)
- Check the Enforce ISO Level 1 (8+3 chars max.)
- Press OK. Then Press Yes if prompted to change the volume type to ISO9660/Joliet. If not prompted, then go to Disc, file system and verify the check is next to ISO9660/Joliet.
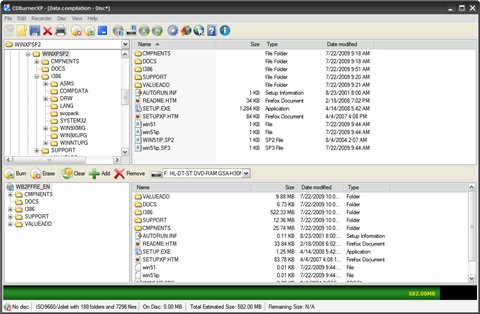
- In CDBurnerXP, select the contents of C:\XPCD and drag to the bottom right frame.

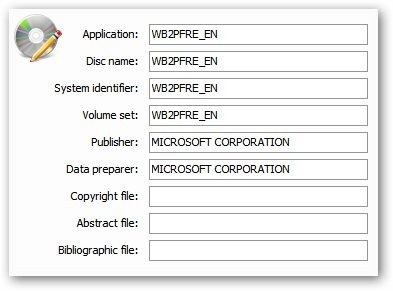
- From the top menu bar, click on Disc, then select Set disc labels…
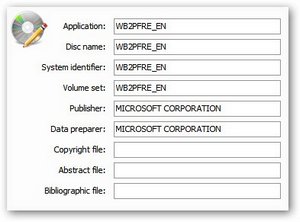
- Change Application, Disc name, System identifier, and Volume set to WB2PFRE_EN and change Publisher and Data preparer to MICROSOFT CORPORATION as illustrated by the above image. Upon completion, press Set labels.
- Press the burn image to create the disc. If there is a pop-up box, select Finalize disc.
- Done.