
To install another application, I needed to install the JDK (Java Development Kit) on a RedHat Linux System. I found a good set of instructions and worked through the steps for a successful installation. The Redhat installation used is Red Hat 5 Enterprise Edition with the GUI. Using the GUI makes it possible for a newbie to maneuver through these steps a little easier. Otherwise, I would have had to do all these steps in a command line environment. Basically, in a nutshell, all these steps are to download and install the Java Development Kit (JDK).
UPDATE: (March 2, 2012) For an updated, automated, command-line script, check out this newest article. Install Java JDK on CentOS without prompts using an automated script!
- Download the Java Development Kit (JDK)
This is a screenshot of available JDKs from the Sun Developer Network (SDN).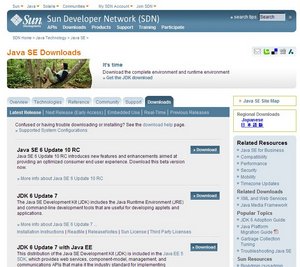
- For this example, JDK 6 Update 7 is selected. Once selected, click on the Download button.

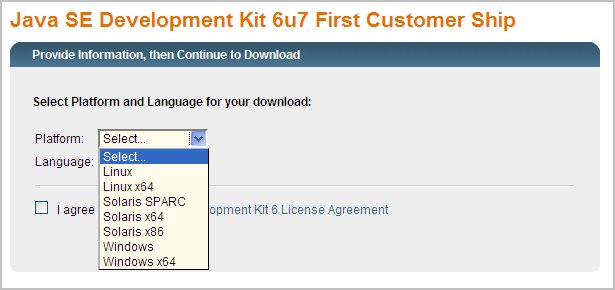
- Select the desired Platform, Linux from the drop-down menu, agree to the License Agreement, and press the Continue button.
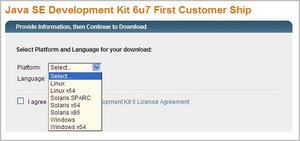
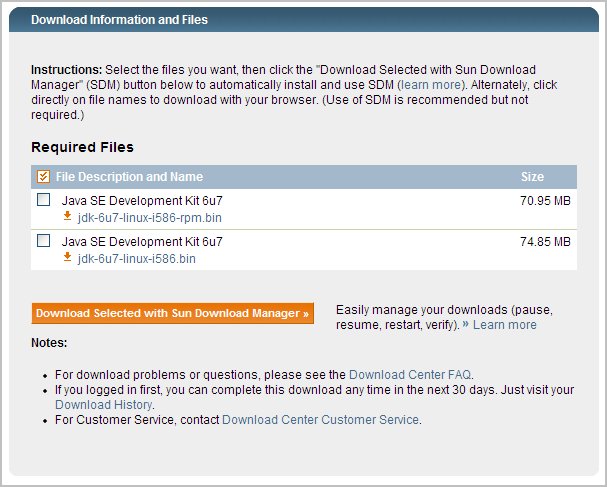
- Select a Java SE Development Kit 6u7, which will be jdk-6u7-linux-i586-rpm.bin.

- After the download is complete, extract and install the JDK.
- Login to your Linux box as the root user
- Launch Terminal by selecting Applications > Accessories > Terminal
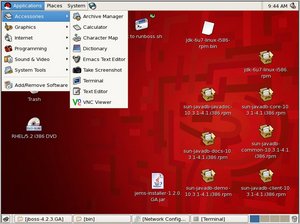
- Change directory to where you placed the JDK file that you downloaded.
- Make the download executable with this command
chmod 755 jdk-6u7-linux-i586-rpm.bin - Execute the installer
./jdk-6u7-linux-i586-rpm.binNote: The “./” is part of the above code, use it like it is seen or it will not work. I know this happened to me.
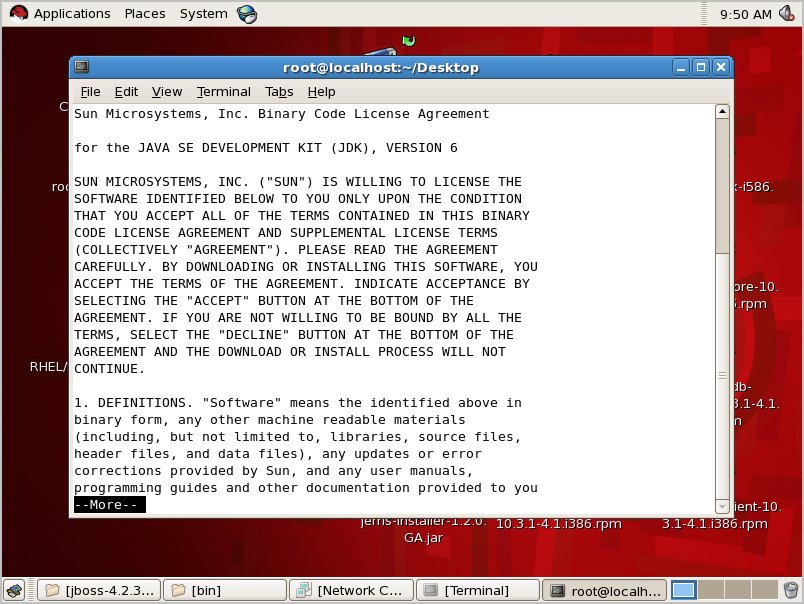
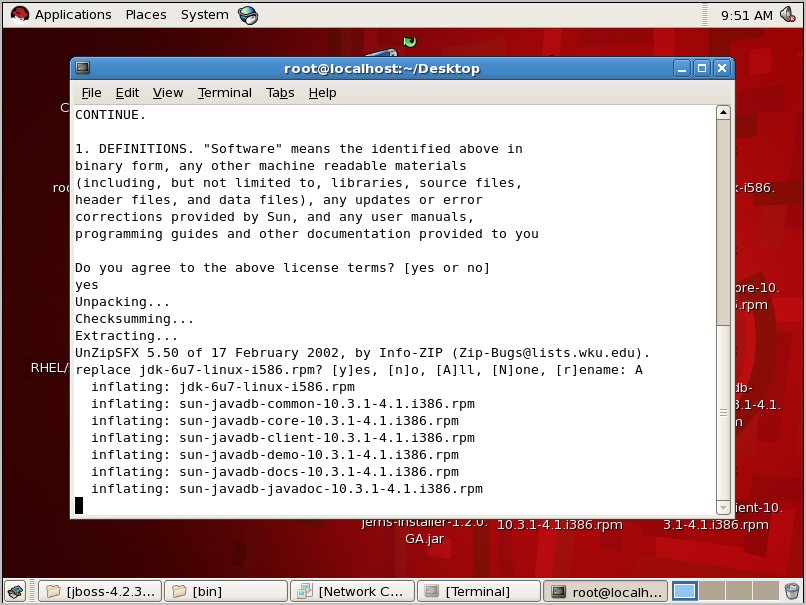
- A license agreement will appear on your screen displayed through the more command. Simply press the enter key until you get to the end, or just press the q key to skip right to the end.
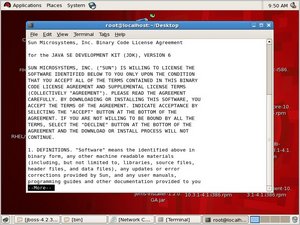
- At the end of the agreement, type yes to agree to it and continue with the install.
- The JDK will unpack and install itself. Your screen output should look similar to the following:
Note: In this example, the JDK was already inflated, hence the choice to overwrite.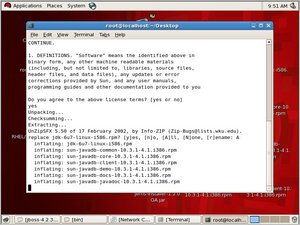
- The install routine installs the files into the directory /usr/java/jdk1.6.0_07. It also creates two links in that directory named default and latest.
- Add the JDK to the PATH for all users by editing the /etc/profile file and place the following two lines at the bottom of your file:
JAVA_HOME=/usr/java/default; export JAVA_HOME PATH=$JAVA_HOME/bin:$PATH; export PATH - Logout of the system and then login, you should be able to run the java command through Terminal to display the version. Run the this command:
java -version - The output should look like:
java version “1.6.0_07”
Java(TM) SE Runtime Environment (build 1.6.0_07-b06)
Java HotSpot(TM) Client VM (build 1.6.0_07-b06, mixed mode, sharing) - Done.


Source(s)
- http://timarcher.com/node/59
1 Comment
Comments are closed.