One approach to adding space to an existing Linux hard drive that is using Linux LVM is to add space to the drive. This can easily be accomplished in VMware. This has been tested using VMware Workstation 9.0 for Windows with CentOS 6.5 (minimal install).
To demonstrate a before and after, here are a few commands that can be used to verify the existing disk size.
[root@hd1 ~]# fdisk -cul | grep 'Disk' | grep -v 'mapper\|identifier'
Disk /dev/sda: 42.9 GB, 42949672960 bytes
[root@hd1 ~]# df -Th
Filesystem Type Size Used Avail Use% Mounted on
/dev/mapper/vg_mini-lv_root
ext4 36G 1.3G 33G 4% /
tmpfs tmpfs 935M 0 935M 0% /dev/shm
/dev/sda1 ext4 485M 55M 405M 12% /boot
[root@hd1 ~]# vgdisplay -C --units G
  VG      #PV #LV #SN Attr   VSize  VFree
  vg_mini   1   2   0 wz--n- 42.42G    0G
The first thing to do, is shutdown the virtual machine. Go to the Settings …
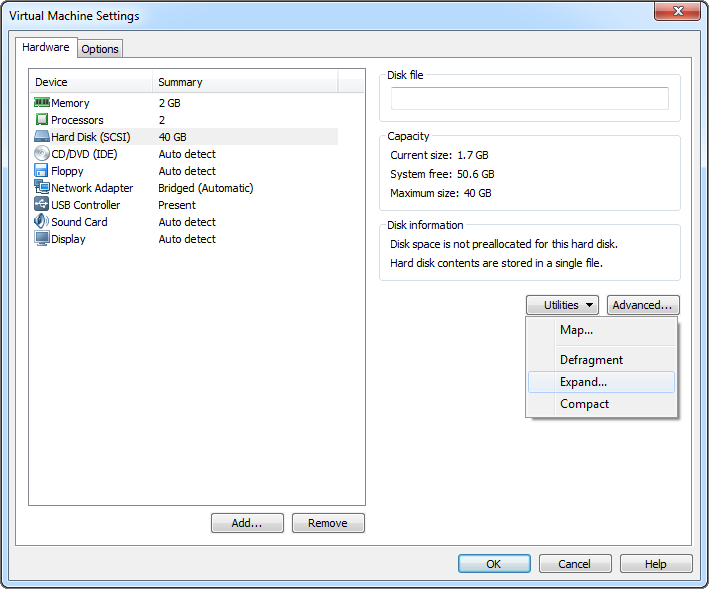
Select Hard Disk. Select Utilities, and chose Expand…
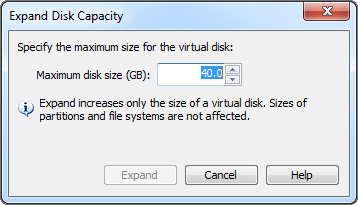
For this example, the drive will be expanded from 40.0 GB to 60.0 GB.
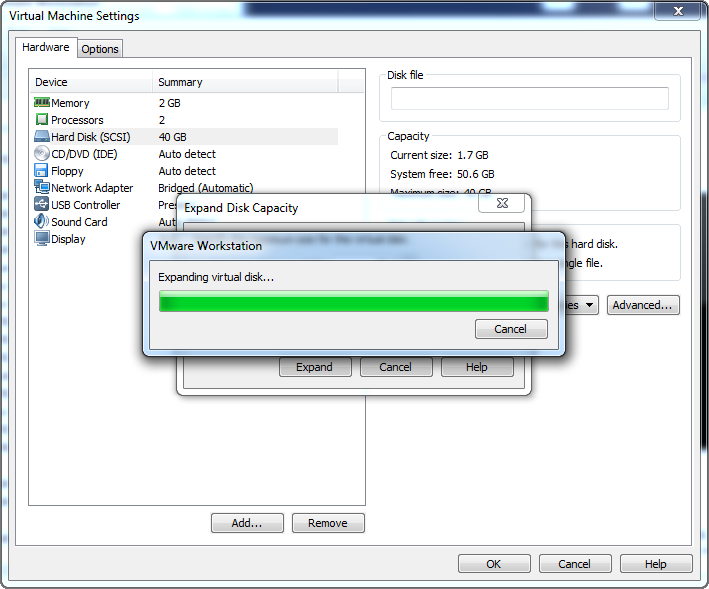
Press the Expand button. Wait for the virtual disk window “Expanding virtual disk …” to complete.
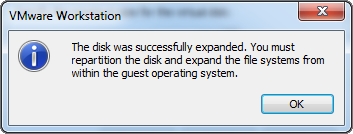
This window, “The disk was successfully expanded….” should indicate a successful expansion. Press OK.
Start the virtual machine.
From the virtual machine, the following steps should extend the hard drive without losing data.
Verify the new drive size.
[root@hd1 ~]# fdisk -cul | grep 'Disk' | grep -v 'mapper\|identifier'
Disk /dev/sda: 64.4 GB, 64424509440 bytes
Create a new partition, slightly automated, use with caution. Modify accordingly to your configuration!! Note that there are two blank lines, each for ENTER. If you feel more comfortable use fdisk -cu /dev/sda and manually edit to your configuration. This example below adds a third primary partition (sda3) with Linux LVM as the filesystem.
echo "n
p
3


t
3
8e
w
"| fdisk -cu /dev/sda;done
partx -va /dev/sda
Resize the volume group, resize the logical volume, and resize the filesystem.
[root@hd1 /]# vgdisplay -C --units G
  VG      #PV #LV #SN Attr   VSize  VFree
  vg_mini   1   2   0 wz--n- 42.42G    0G

[root@hd1 /]# vgextend vg_mini /dev/sda3
  dev_is_mpath: failed to get device for 8:3
  No physical volume label read from /dev/sda3
  Physical volume /dev/sda3 not found
  Physical volume "/dev/sda3" successfully created
  Volume group "vg_mini" successfully extended

[root@hd1 /]# vgdisplay -C --units G
  VG      #PV #LV #SN Attr   VSize  VFree
  vg_mini   2   2   0 wz--n- 63.89G 21.47G

  [root@hd1 /]# lvscan
  ACTIVE            '/dev/vg_mini/lv_root' [35.60 GiB] inherit
  ACTIVE            '/dev/vg_mini/lv_swap' [3.91 GiB] inherit

[root@hd1 /]# lvextend -l +100%FREE /dev/vg_mini/lv_root
  Extending logical volume lv_root to 55.60 GiB
  Logical volume lv_root successfully resized

[root@hd1 /]# resize2fs /dev/vg_mini/lv_root
resize2fs 1.41.12 (17-May-2010)
Filesystem at /dev/vg_mini/lv_root is mounted on /; on-line resizing required
old desc_blocks = 3, new_desc_blocks = 4
Performing an on-line resize of /dev/vg_mini/lv_root to 14574592 (4k) blocks.
The filesystem on /dev/vg_mini/lv_root is now 14574592 blocks long.
Confirm the results using the methods described at the beginning of this article. Done.
Source(s)
http://blog.pluralsight.com/resize-vmware-linux-drives
https://access.redhat.com/solutions/44089
http://www.mechanicalkeys.com/files/os/linux/lvm.txt
http://www.unix.com/shell-programming-and-scripting/42017-last-line-grep-resullt.html