To find a rare record is difficult enough. To find an image of one is almost as difficult to find as the record itself. To find an image worth using can prove to be as difficult as finding the original record itself. In some cases, it is possible to create a mockup of an extremely rare record while maintaining the original look and feel of the record. To do this, a free program, Paint.NET is used.
For this example, a more common, black labeled EP, EP-5101 will become a marooned label EP.
Open each of the images. The first image is the rare maroon label EP, the second is the more common black label EP. Both EPs are otherwise identical in font size and placement.

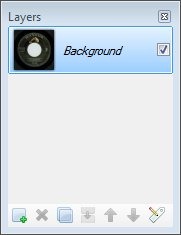
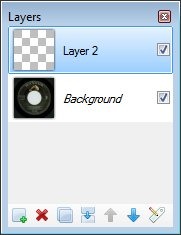
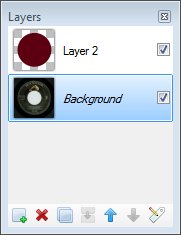
On the black label image, create a layer by pressing the green plus sign on the far right from the Layers window. The result will be another layer, Layer 2.
Notice that both layers are checked and the Layer 2 is highlighted.
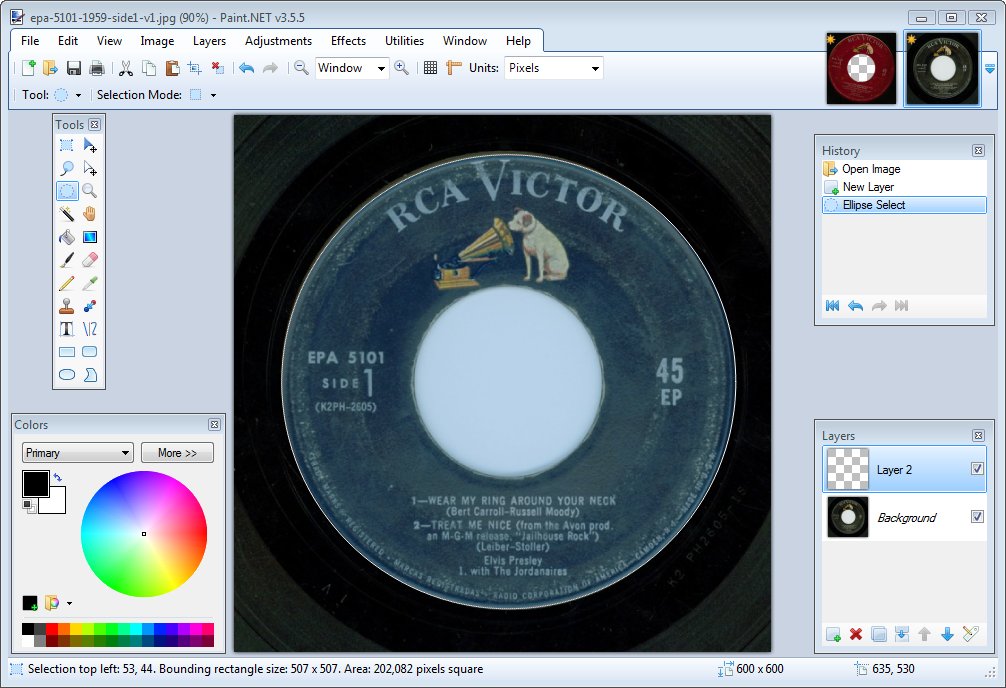
While Layer 2 is highlighted, select the Ellipse Select (shaped like a dotted circle) from the Tools window. Then take the cursor and draw a circle around the label of the record.
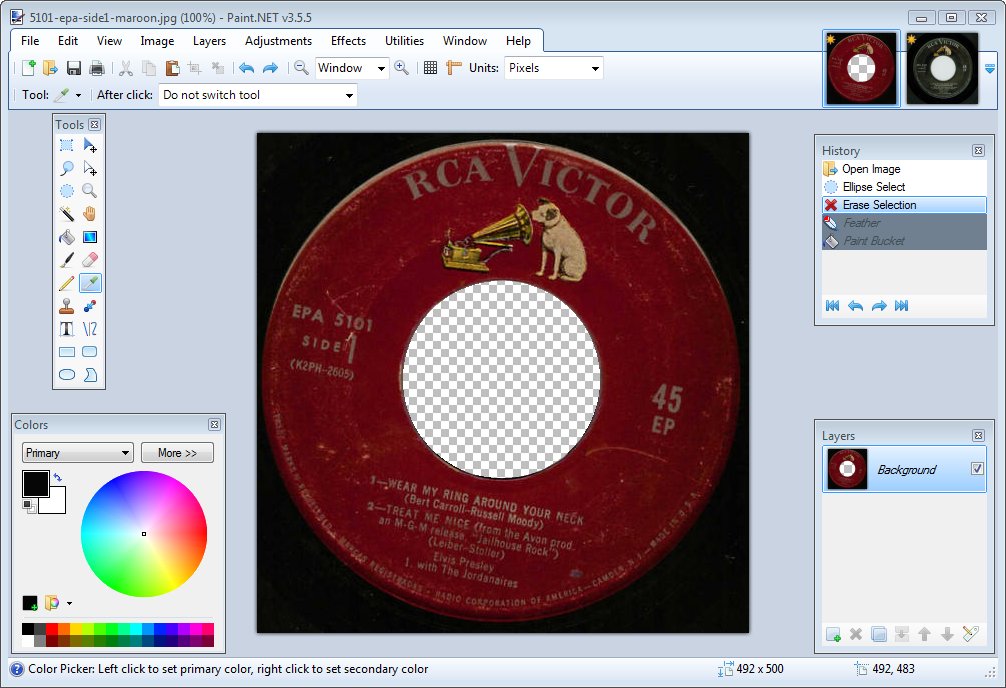
Click on the maroon label image at the top.

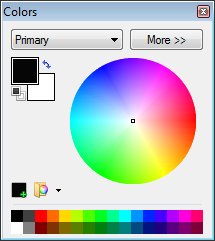
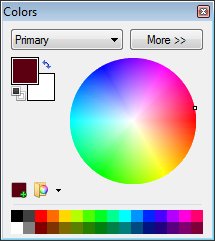
Select Color Picker from the Tools window. Take the cursor and select the desired color.

A closeup of the Colors window below shows the default black on white change to maroon (the desired color) on white.
Click on the black label image at the top.
Note: The image should still be highlighted.

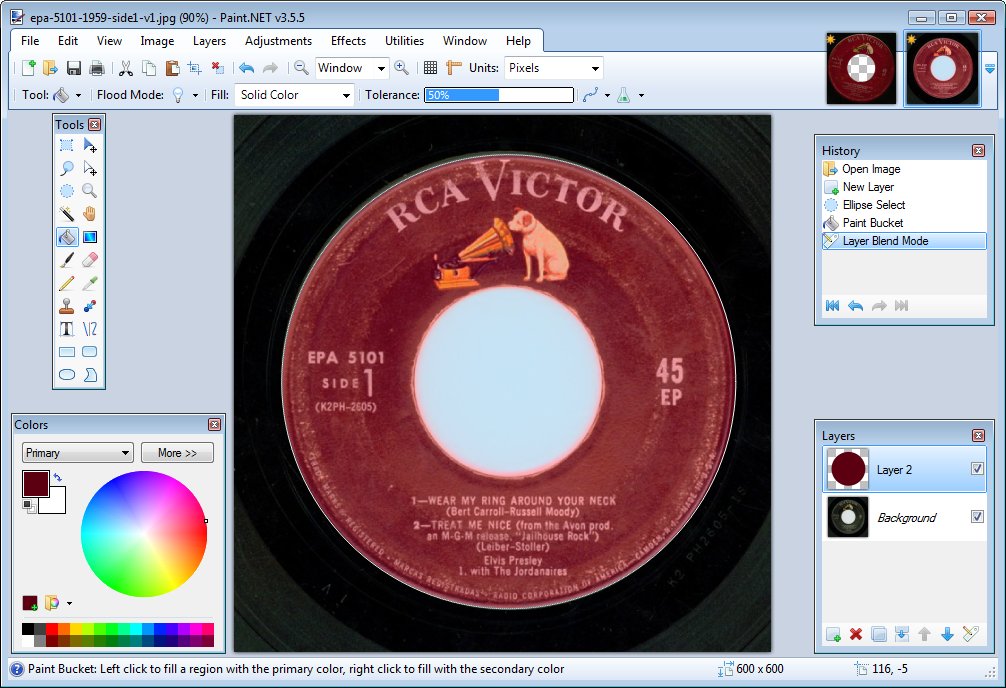
Select Paint Bucket from the Tools menu. Take the cursor and select the area that has been highlighted. The result should be maroon circle.


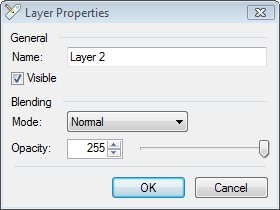
From the top menu, select Layers -> Layer Properties

A closeup of the Layer Properties window below shows the default Blending Mode as Normal. Scroll from Normal to Lighten. Press OK.
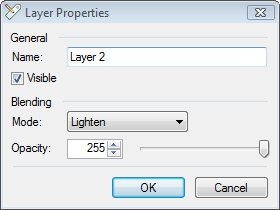
The result is a maroon label EP.
To take it further, select Background from the Layers window.
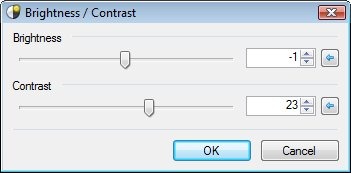
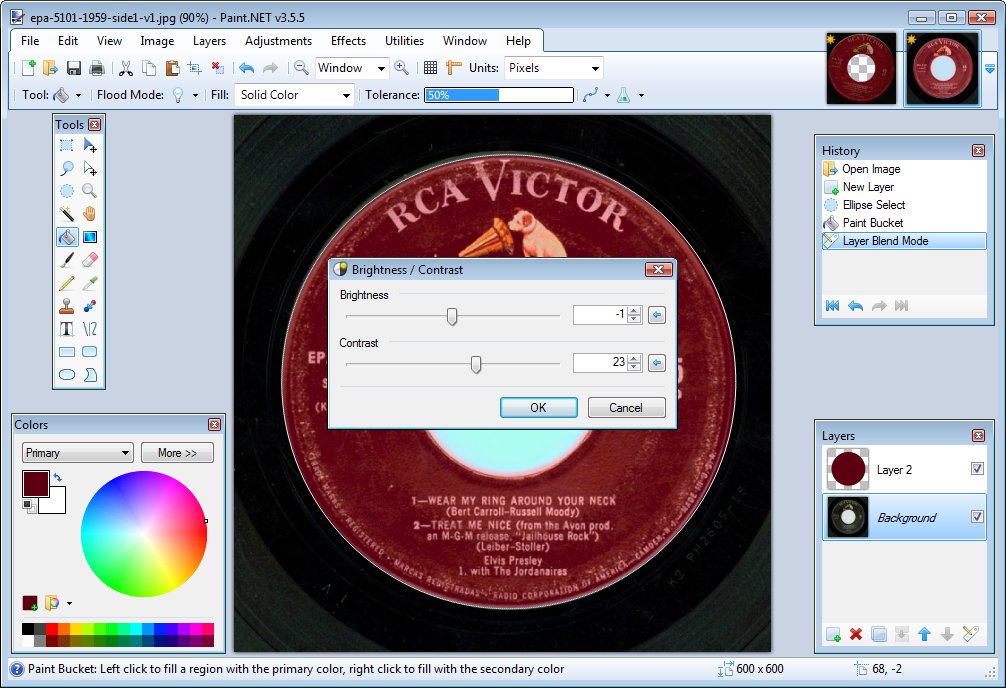
From the Adjustments menu, select Brightness / Contrast.
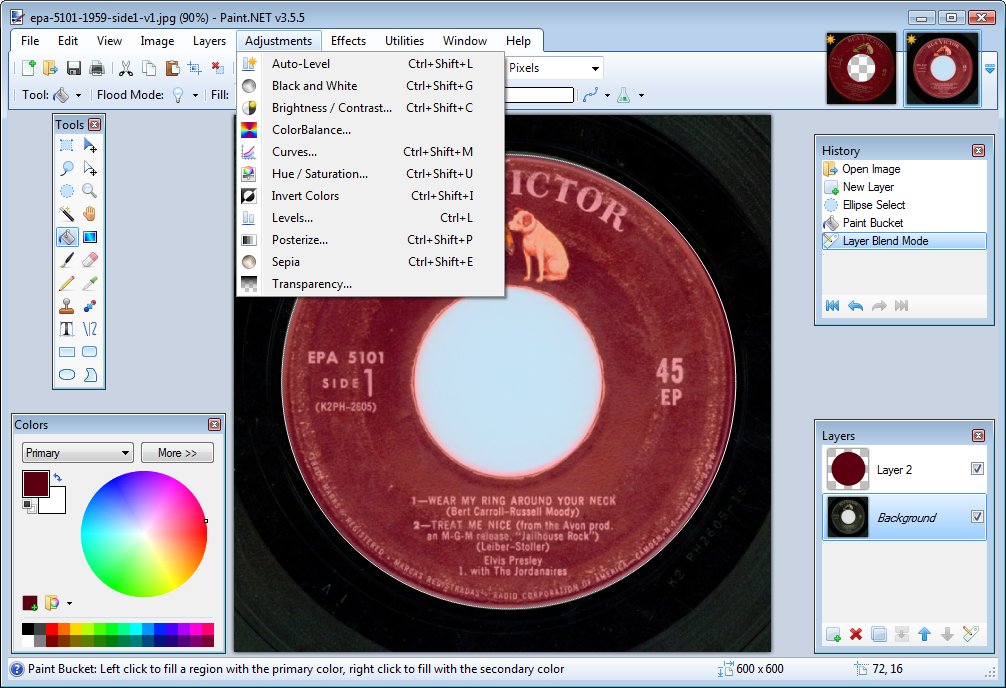
Slide the Brightness and Contrast sliders to the desired settings. Press OK.
Save the work. File > Save As. Change Save as Type to JPG (or desired format). Press Save.

The result is spectacular. One of the images below is the original, maroon label. The other is the mockup of the original.
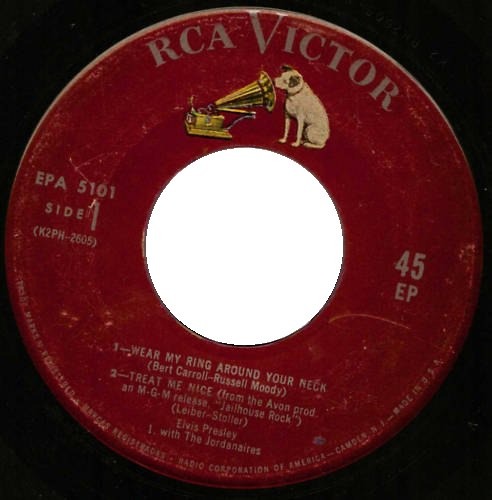
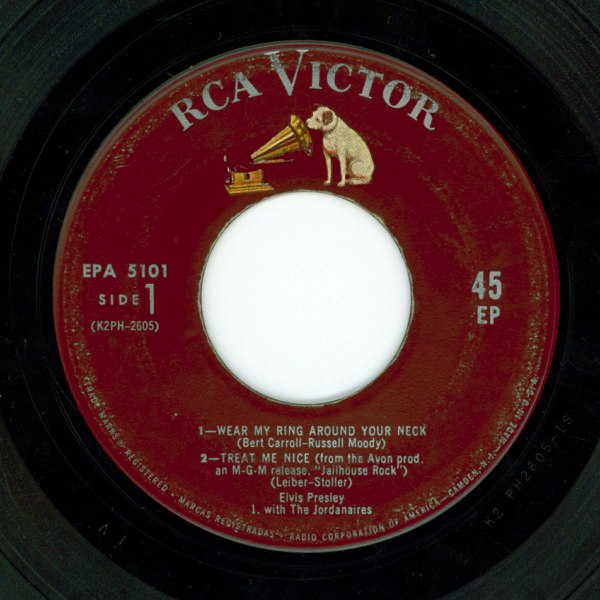
Answer: The image on the left is the original, and the image on the right is the mockup.