By combining the massively popular Elasticsearch, Logstash, and Kibana (what was the ELK Stack is now the Elastic Stack), Elastic has created an end-to-end stack that delivers actionable insights in real time from almost any type of structured and unstructured data source.
There are many resources that offer installation procedures from simple to complex configurations. This is my take on a simple installation using CentOS 7. I had some trouble with this installation with a great many odd errors that I couldn’t resolve. It turned out to be quite simple, there was not enough system resources. I originally tried this install with 2 CPU and 2GB RAM which did not fare well. An install on a 4 CPU with 8GB RAM was perfect and quick. I also elected not to use the Oracle Java JDK as their licensing has changed.
#####################
# Install ELK 5.6
#####################

# Create the repo
cat >> EOF < /etc/yum.repos.d/elastic.repo
[logstash-5.x]
name=Elastic repository for 5.x packages
baseurl=https://artifacts.elastic.co/packages/5.x/yum
gpgcheck=1
gpgkey=https://artifacts.elastic.co/GPG-KEY-elasticsearch
enabled=1
autorefresh=1
type=rpm-md
EOF
# Install Prerequisite and applications
yum -y install java-1.8.0-openjdk-devel
yum -y install elasticsearch logstash kibana
# Modify the configuration files
sed -i ‘/^#network.host/a network.host: localhost’ /etc/elasticsearch/elasticsearch.yml
sed -i ‘/^#server.host/a server.host: “0.0.0.0”‘ /opt/kibana/config/kibana.yml
# Services
systemctl daemon-reload
systemctl enable –now elasticsearch logstash kibana
# Firewall
firewall-cmd –permanent –add-port=5601/tcp
firewall-cmd –reload
Test
Use netstat to determine if the ELK stack is running. This result indicates that it is.
[root@elk~]# netstat -ntlp | grep -E '5601|9200|9300'
tcp        0      0 0.0.0.0:5601            0.0.0.0:*     LISTEN      15979/node
tcp6       0      0 ::1:9200                :::*          LISTEN      16023/java
tcp6       0      0 127.0.0.1:9200          :::*          LISTEN      16023/java
tcp6       0      0 ::1:9300                :::*          LISTEN      16023/java
tcp6       0      0 127.0.0.1:9300          :::*          LISTEN      16023/java
Elkstack Test
Elasticsearch should return a result via this command line.
curl -X GET http://localhost:9200A result similar to this should do it.
[root@elk~]# curl -X GET http://localhost:9200
{
  "name" : "n__VAxr",
  "cluster_name" : "elasticsearch",
  "cluster_uuid" : "z1r1b-dURieW3d0YOuR9yg",
  "version" : {
    "number" : "5.6.14",
    "build_hash" : "f310fe9",
    "build_date" : "2018-12-05T21:20:16.416Z",
    "build_snapshot" : false,
    "lucene_version" : "6.6.1"
  },
  "tagline" : "You Know, for Search"
}
x-pack
From enterprise-grade security and developer-friendly APIs to machine learning, and graph analytics, the Elastic Stack ships with features (formerly packaged as X-Pack) made and maintained by us to be enjoyed by you.This is not a requirement, bu for a security implementation this works.
/usr/share/elasticsearch/bin/elasticsearch-plugin install x-pack
/usr/share/kibana/bin/kibana-plugin install x-pack
After installing the x-pack plugins, a logon screen will now present itself. There are a couple of default username and passwords for use to logon.
user: elastic
pass: changeme

user: kibana
pass: changeme
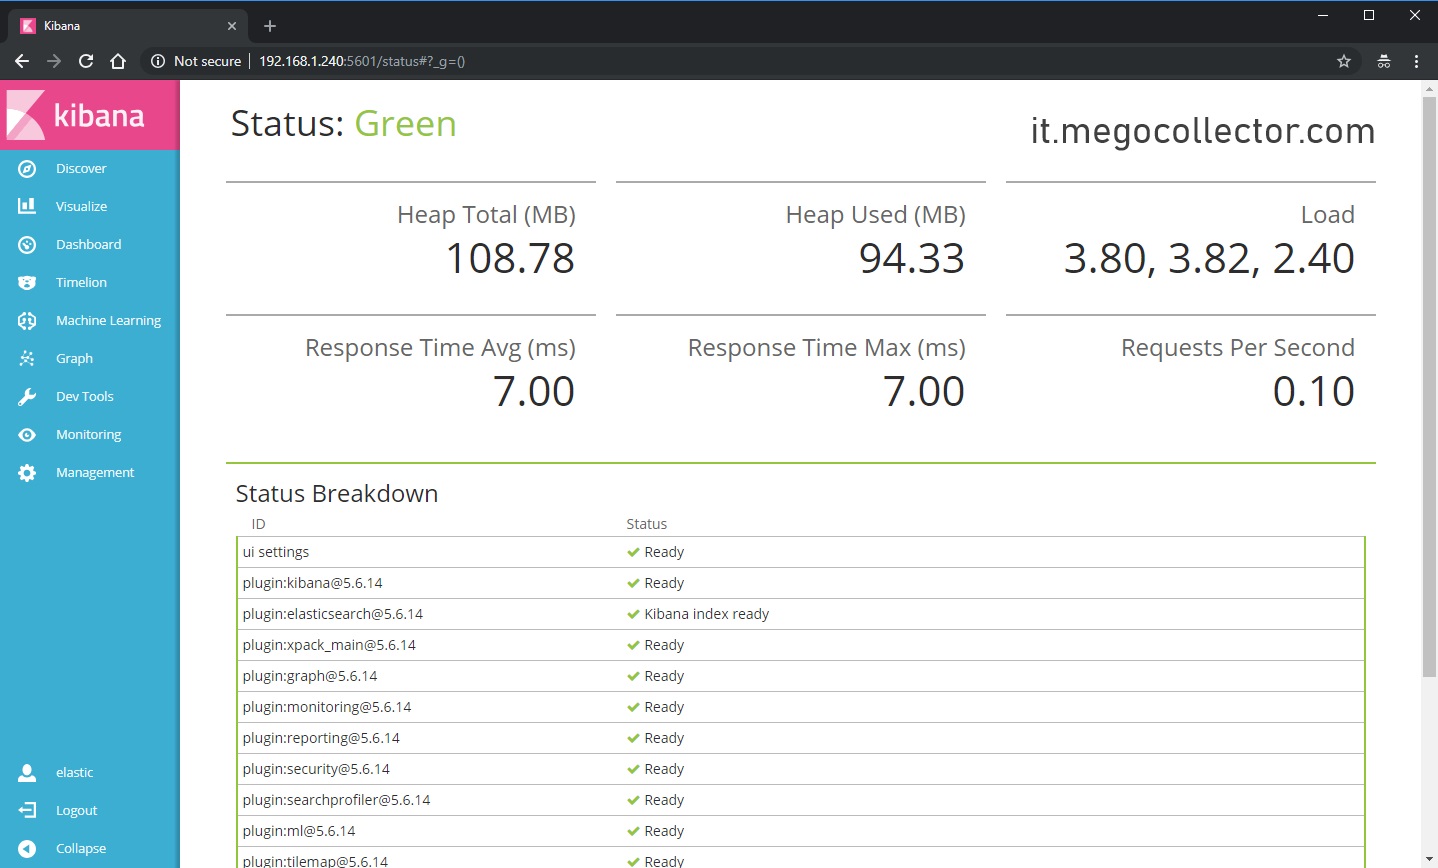 Elkstack Test
From the command line, elastic search may be tested with this command.
curl -u kibana:changeme http://localhost:9200Results
[root@elk ~]# curl -u kibana:changeme http://localhost:9200
{
  "name" : "n__VAxr",
  "cluster_name" : "elasticsearch",
  "cluster_uuid" : "z1r1b-dURieW3d0YOuR9yg",
  "version" : {
    "number" : "5.6.14",
    "build_hash" : "f310fe9",
    "build_date" : "2018-12-05T21:20:16.416Z",
    "build_snapshot" : false,
    "lucene_version" : "6.6.1"
  },
  "tagline" : "You Know, for Search"
}
Source(s)
- https://www.elastic.co/products/stack
- https://www.elastic.co/products