 Adobe updates their products in relatively frequent and regular intervals. Adobe Acrobat and Adobe Reader is no stranger to this practice. Since the launch of Adobe Reader 9.0 in 2008 and as of this writing, there has been 15 updates to that product alone. For some users, the automatic update feature is sufficient. If you are in an environment where application updates are required to pass security scans or would like to simplify deployment of this application, then this exercise is for you. In this exercise, we will create an updated Adobe Reader installation source, create a customized Microsoft transform to automate the installation, and create a single file installation package for distribution.
Requirements
-
Adobe Reader 9.4.0 (AdbeRdr940_en_US.msi)
-
Adobe Reader 9.4.0 (AdbeRdr940_en_US.exe)
-
Adobe Reader Incrmental Update 9.4.1 (AdbeRdrUpd941_all_incr.msp)
-
Adobe Reader Incrmental Update 9.4.2 (AdbeRdrUpd942_all_incr.msp)
-
Adobe Reader Incrmental Update 9.4.3 (AdbeRdrUpd943_all_incr.msp)
-
Adobe Customization Wizard 9 (CustWiz90_en_US.exe)
Adobe maintains an FTP site ftp://ftp.adobe.com/pub/adobe/reader/win/, which is where the above Adobe Reader application and updates originate. It is good to note as a reference for future updates.
Although there are several methods of achieving this goal, this is the one I prefer.
Create The Installation Folder
- Download each of the requirements.
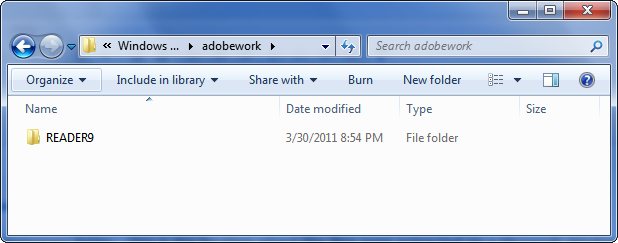
- Create a working folder, like D:\adobework
- Create a sub-folder to the working folder, like D:\adobework\ADOBE9
- Rename AdbeRdr940_en_US.msi to AcroRead.msi (optional)
- Copy / Move the Adobe Reader (msi) and Adobe Reader Incremental Updates (msp) to your working folder’s sub-folder.
- Double click to execute AdbeRdr940_en_US.exe.
-
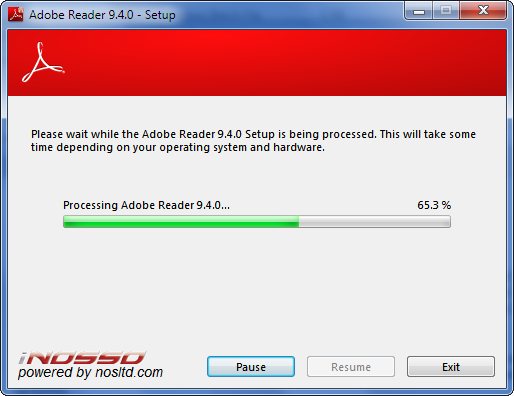
Wait for the iNosso unpacker to complete Do NOT continue the installation.
-
After the iNosso unpacker completes, the following screen will appear. Ignore it, but wait.
-
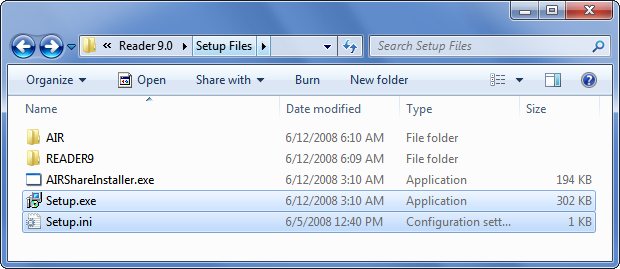
Go to your Windows temporary folder. This is the location where the files were extracted on a Microsoft Windows 7 build: C:\Users\yourname\AppData\Local\Adobe\Reader 9.4\Setup Files

-
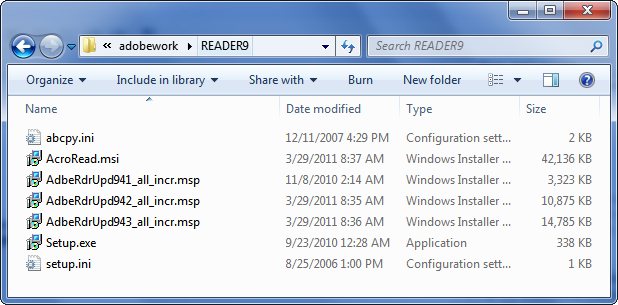
Copy the Setup.exe, setup.ini, and abcpy.ini to your working folder’s sub-folder.
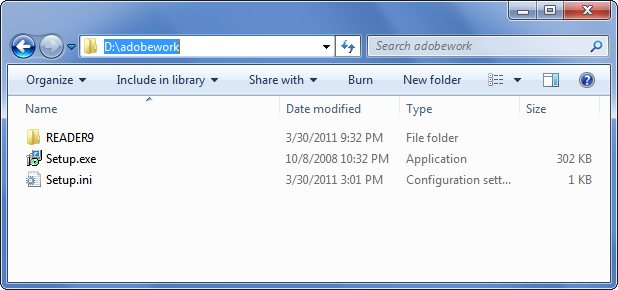
At this point your working folder and sub-folder should look something like this.
-
Exit out of the Adobe Reader setup screen, by pressing Cancel and answering Yes to the next pop-up. Then Finish to the last screen. After canceling the setup, the temporary files are removed.

-
Using your favorite editor, edit the setup.ini that you had copied to the working folder sub-folder. The default setup.ini should look like this.
[Startup]
RequireOS=Windows 2000
RequireMSI=3.0
RequireIE=6.0.2600.0

[Product]
msi=AcroRead.msi

[Windows 2000]
PlatformID=2
MajorVersion=5
ServicePackMajor=4

[MSI Updater]
Path=http://ardownload.adobe.com/pub/adobe/reader/win/8.x/8.0/misc/WindowsInstaller-KB893803-v2-x86.exe
- Add the the CmdLine and PATCH lines to your setup.ini and save the file. The following is what the setup.ini should look like.
[Startup]
RequireOS=Windows 2000
RequireMSI=3.0
RequireIE=6.0.2600.0
CmdLine= /sPB /norestart

[Product]
msi=AcroRead.msi
PATCH=AdbeRdrUpd941_all_incr.msp;AdbeRdrUpd942_all_incr.msp;AdbeRdrUpd943_all_incr.msp

[Windows 2000]
PlatformID=2
MajorVersion=5
ServicePackMajor=4

[MSI Updater]
Path=http://ardownload.adobe.com/pub/adobe/reader/win/8.x/8.0/misc/WindowsInstaller-KB893803-v2-x86.exe
Technically, you are done. You have successfully created an installation folder that will install a completely updated version of Adobe Reader. This will work, but it can be better. Read on to continue.
Create A More Automated Installation Folder
The Adobe Customization Wizard 9 has many available options. You can select whatever options that are desired. For the purpose of this exercise, I will be selecting those options that I have found to be beneficial.
-
Install the Adobe Customization Wizard 9, double click to execute CustWiz90_en_US.exe. Follow the instructions.
-
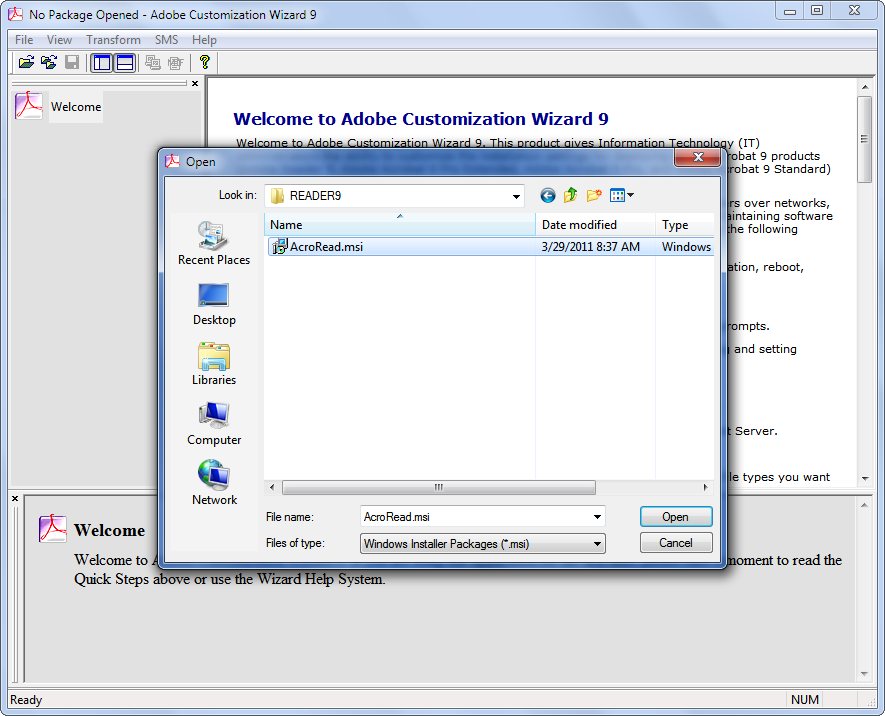
Run the Adobe Customization Wizard 9 from your start menu. You should get a Welcome to Adobe Customization Wizard 9 window.

-
Go to File > Open Package then navigate to your working folder sub-folder to open AcroRead.msi.
-
Select Installation Options. Make the following selections.
-
Default viewer for PDF files
-
Make Reader the default viewer if Acrobat and Reader are installed.
-
-
Run Installation
-
Unattended (with no user interaction, only a progress bar)
-
-
If reboot required at the end of installation
-
Suppress reboot
-
-

-
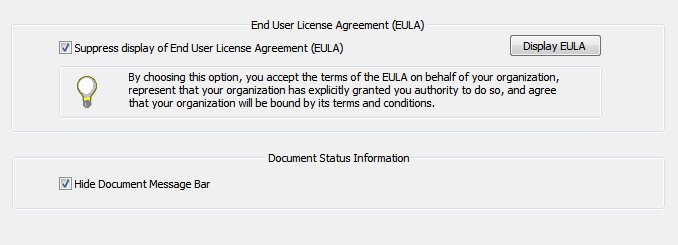
Select EULA and Document Status. Make the following selections.
-
End User License Agreement (EULA)
-
Suppress display of End User License Agreement (EULA)
-
-
Document Status Information
-
Hide Document Message Bar
-
-
-
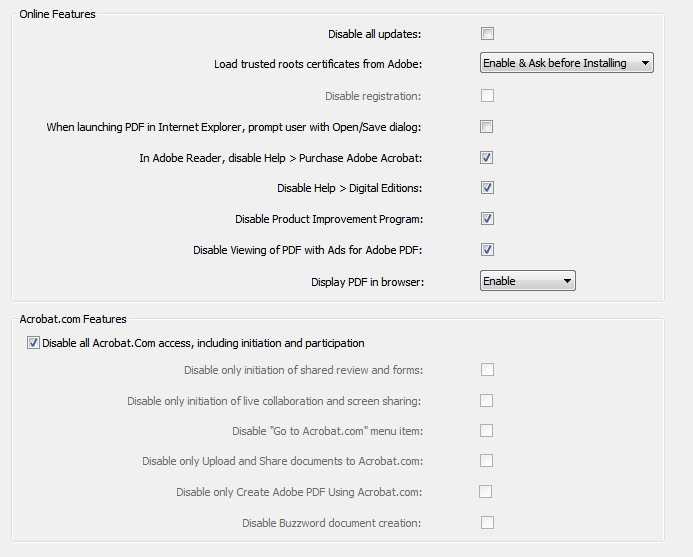
Select Online and Acrobat.com Features. Make the following selections.
-
Online Features
-
In Adobe Reader, disable Help > Purchase Adobe Acrobat:
-
Disable Help > Digital Editions:
-
Disable Product Improvement Program:
-
Disable Viewing of PDF with Ads for Adobe PDF:
-
-
Acrobat.com Features
-
Disable all Acrobat.Com access, including initiation and participation
-
-
-
Go to File > Save Package. This will create the transform (mst) file with the same name as the (msi). In this case AcroRead.mst.
-
Go to File > Exit to exit the application.
-
Using your favorite editor, edit the setup.ini.
-
Add the following highlighted line to your setup.ini. Those in italics are the lines added earlier in this exercise. The setup.ini shown below is the final setup.ini.
Note: that with saving the mst with the Adobe Customization Wizard, the setup.ini may automatically add the CmdLine=TRANSFORMS=”AcroRead.mst” and remove the PATCH=AdbeRdrUpd941_all_incr.msp;AdbeRdrUpd942_all_incr.msp;AdbeRdrUpd943_all_incr.msp line, which must manually be added again. The final setup.ini will look something like this.
[Startup]
RequireOS=Windows 2000
RequireMSI=3.0
RequireIE=6.0.2600.0
CmdLine= /sPB /norestart

[Product]
msi=AcroRead.msi
PATCH=AdbeRdrUpd941_all_incr.msp;AdbeRdrUpd942_all_incr.msp;AdbeRdrUpd943_all_incr.msp
CmdLine=TRANSFORMS="AcroRead.mst"

[Windows 2000]
PlatformID=2
MajorVersion=5
ServicePackMajor=4

[MSI Updater]
Path=http://ardownload.adobe.com/pub/adobe/reader/win/8.x/8.0/misc/WindowsInstaller-KB893803-v2-x86.exe
Technically, you are done. You have successfully created a transform and installation folder that will install a completely updated customized version of Adobe Reader. This will work, but it can be better. Read on to continue.
A More Automated Install
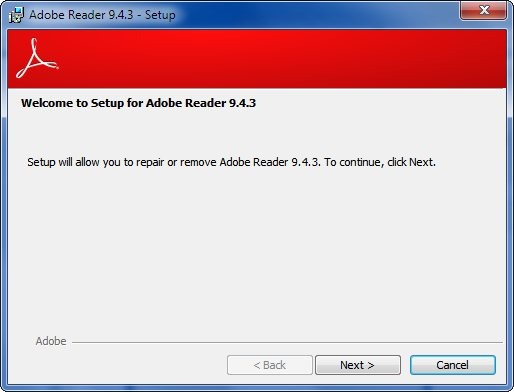
The above installation files will install a completely updated customized version of Adobe Reader, however, if another version exists or if the existing version was installed for a different source, which will be case, the end user will be prompted to repair or remove the existing installation.
Four problems with the existing customized version of Adobe Reader:
-
The install is not automatic, which is the desired goal.
-
If the user selects repair, setup will continue, however, will present an error that it cannot find files.
-
If the user selects remove, setup will continue, and remove the existing installation. Then finish. The end user will then have to use the install again, this time without prompts.
-
The end user may be presented with a reboot screen after the removal of the existing installation.
To correct this, there is another setup.exe and setup.ini that differ from those in your working folder sub-folder. These two files are found in the original Adobe Reader 9.0.
Requirements
-
Adobe Reader 9.0 (AdbeRdr90_en_US.exe)
Extract the setup.exe and setup.ini
Use as a guide the steps outlined above with pictures if additional reference is needed.
- Double click to execute AdbeRdr90_en_US.exe.
- Wait for the iNosso unpacker to complete Do NOT continue the installation.
- After the iNosso unpacker completes. Ignore it, but wait.
- Go to your Windows temporary folder. This is the location where the files were extracted on a Microsoft Windows 7 build: C:\Users\yourname\AppData\Local\Adobe\Reader 9.0\Setup Files
- Copy the setup.exe and setup.ini files that are in the Setup Files folder and not those of the READER9 folder to your working folder.
-
Edit the setup.ini file that is in the working folder. Delete the [Product2] and edit the CmdLine under [Startup] and save it to look like the following:
[Startup]
CmdLine= /norestart

[Product1]
Launch=bss
exe=.\READER9\Setup.exe
msi=.\READER9\AcroRead.msi
ProdIni=.\READER9\setup.ini
IncludeIfSilent=Yes
Congratulations! You are done. Execute the setup.exe and you will experience an automated installation of Adobe Reader. If in the event, the existing version is installed, the following window will appear instead of the user intervention above. Otherwise, the installation will continue.
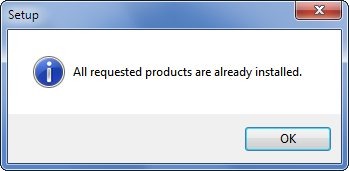
Update: (March 31, 2011) I have tested this package on four different computers. The results vary. On three computers where the version of Adobe Reader fell below 9.4 with versions ranging from 9.2 through 9.3, the automated installation removed the previous version and installed the new updated version (currently 9.4.3). However, in the case where Adobe Reader was version 9.4, the installer displayed the above message, “All requested products are already installed.” In that case, I manually uninstalled Adobe Reader and executed the automated installation package – success. There seems to be a condition where the minor version must be below 4. More tweaking… Updates to follow.
Create a Single File Package
You can take it a step further, read about that in this article, Create a 7zip Self Extractor (7zS.sfx or 7z.sfx). also on this site.
Other Methods
Mentioned earlier, there are other ways to achieve the goal of deploying Adobe Reader.
Using Group Policy to Deploy Adobe Acrobat 9.3.2
Using the link above, could yet be another method, create a network installation without proceeding to the group policy part to deploy Adobe Reader.